Gameplay: SET UP - Setting up with this deck is a constant effort. As the main function is to reuse and recycle cards, attacks, and abilites you must be always aware of the next "SET" your going to run. There are a few different SET's you can run in this deck, and all can be mixed and matched. Although there is an ideal loop that would allow for the most optimal session. Therefore making this deck's "gimmick" both weak to disrupters and deck burners.
SET 1 - Mimikyu/AlakazamEX - The EX Sniper
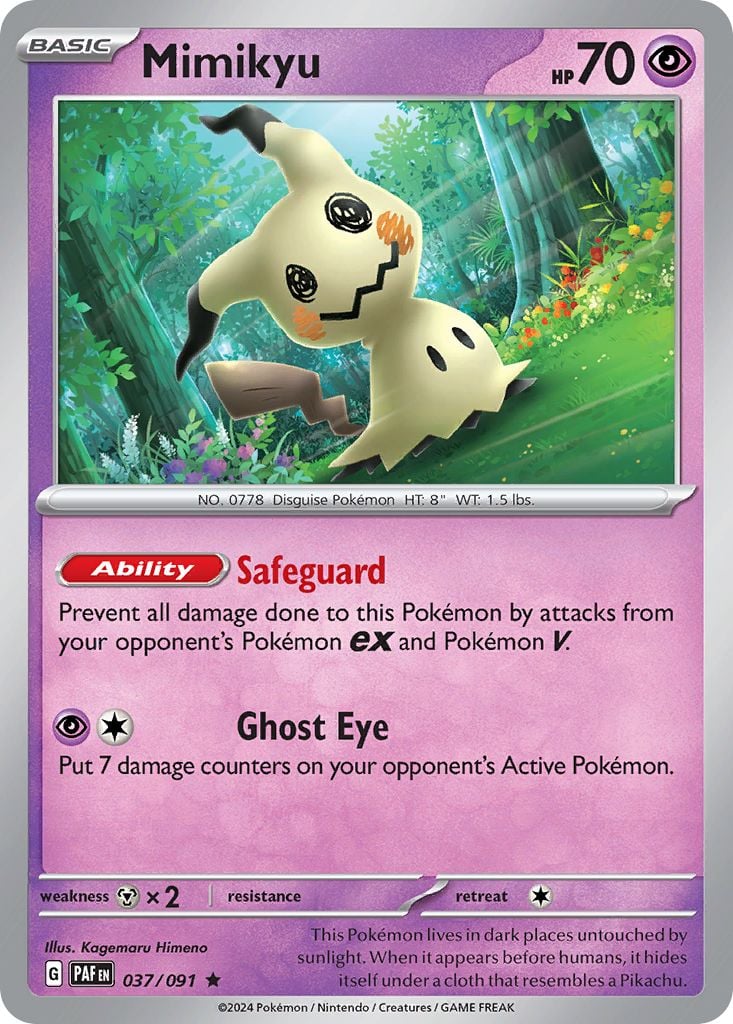
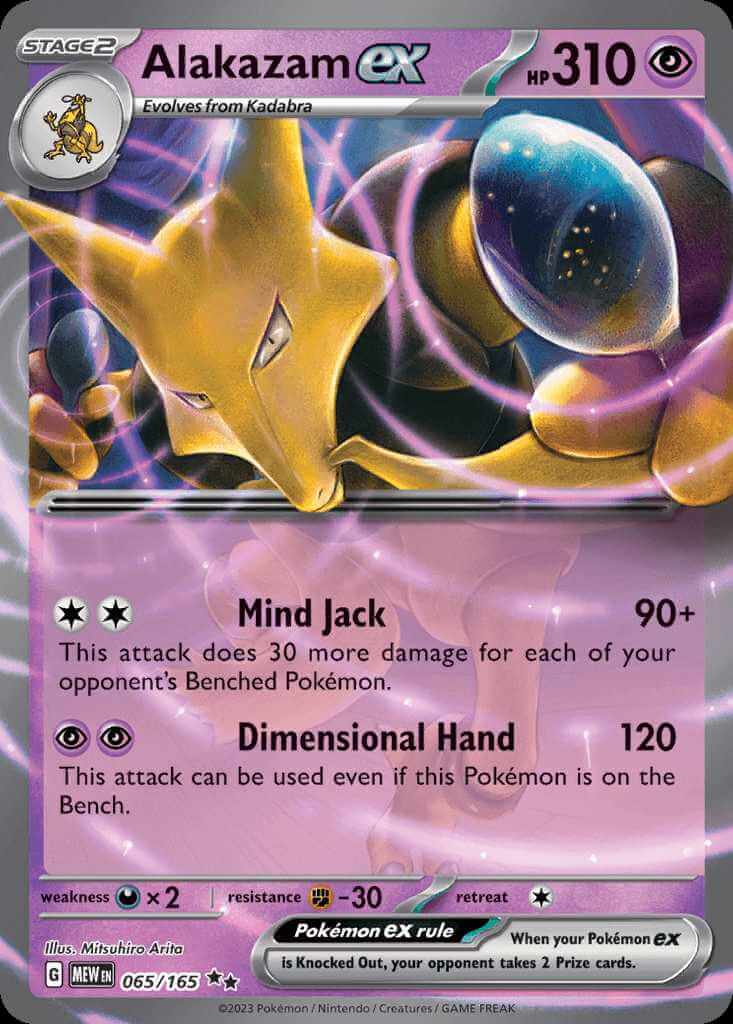
This is one of the more Simple set ups in the deck, and is specifically built to stave off EX attacks and bring light pressure from the bench with Alakazam EX. As the attack is only 120 damage it isn't the most reliable in the deck, and although it theoretically could knockout most EX's in about 3 rounds there are two many unknowns that could render this useless. In those hypothetical three rounds however the focus isn't to knockout the EX attacker, but instead is meant to give more purpose to Mimikyu's Stalling. Being able to do damage while stalling is a good way to set up a knockout. As easy as the SetUp is, it's just as easy to tear down. A deevolution TM and Anti-Evolution cards would render this weapon useless. A simple Bosses Orders would also leave you at a disadvantage for a 2 Prize card loss. To protect yourself, this SET (and most others) are guarded by bringing 1 of 2 pokemon onto the bench by means of Rabsca.
By discarding stage 2 and stage 3 pokemon with Ultra Ball or Earthen Vessel early on in the SETUP phase, you can grab a Rabsca to evolve Rellor, give it an energy and bring cards like Alakazam EX onto the bench early. However Abra and Kadabra are in the deck already (for both the Mimikyu Snipe SET and Mewtwo Time Bomb SET). Rabsca's true potential with the Mimikyu/Alakazam Sniper SET is in bringing out either Gastrodon or Rhyperior.


Both are only used for their abilities and MUST be drawn onto the bench by Rabsca.
Gastrodon
"Sticky Bind" is what shuts down Stage 2 PKMN abilites, pairing well with Mimikyu to counter cards like Charizard EX or Gardevoir's Energy Acceleration.
Rhyperior
"Wide Wall" is a unique ability in that it effects your opponents ability to play supporter cards. This in effect renders Boss's order's useless.
The PROBLEM - "Sticky Bind" negates "Wide Wall"! You can only have 1 out at a time! So knowing which Bench-SET your going to run is important.
I'd recommend playing Rhyperior first if the opponent cannot SetUp their bench. Once you start to see movement and SetUp start to happen, having a Rabsca to swap for Gastrodon is crucial. Playing both in this way however may hurt you when using other SET's during the mid-late game but it isn't completley impossible to pull off.
So in summary, this SET is made up by; Having Alakazam on the bench, as well as either Gastrodon or Rhyperior, with Mimikyu in the Active position.
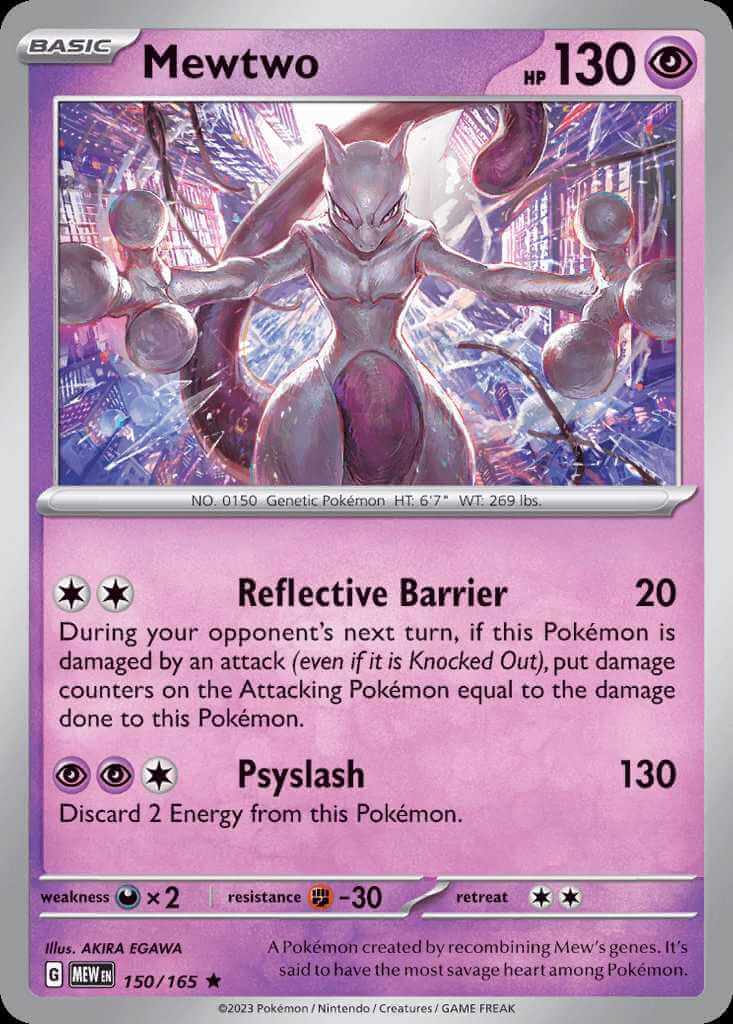
SET 2: Mewtwo/Alakazam - Time Bomb
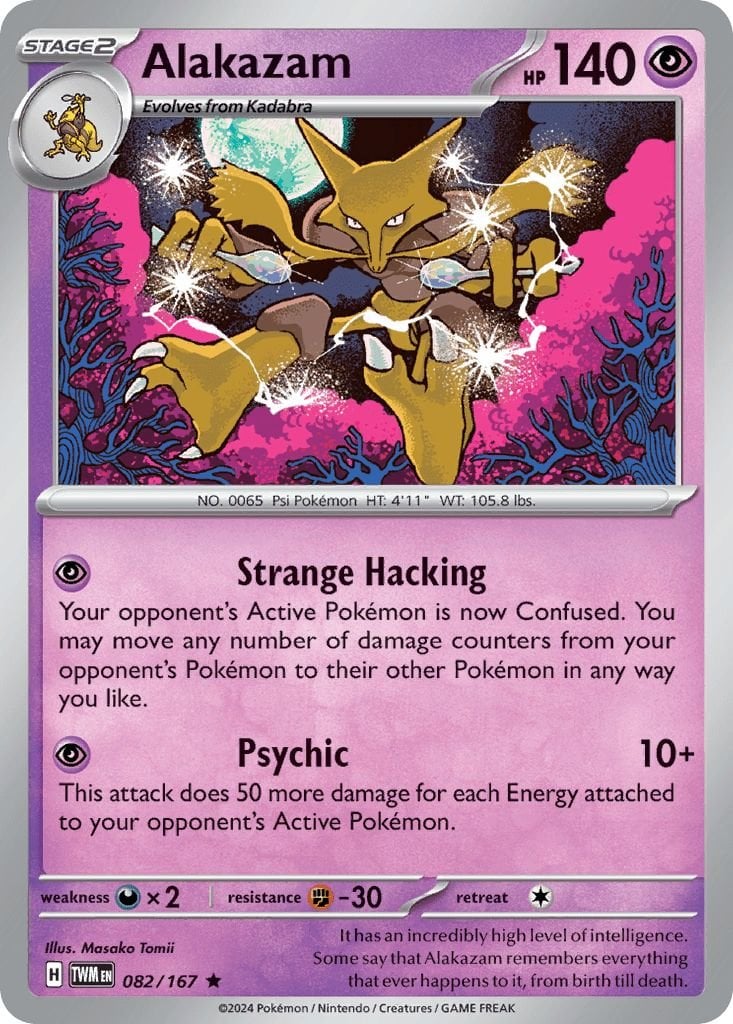
Bench Support
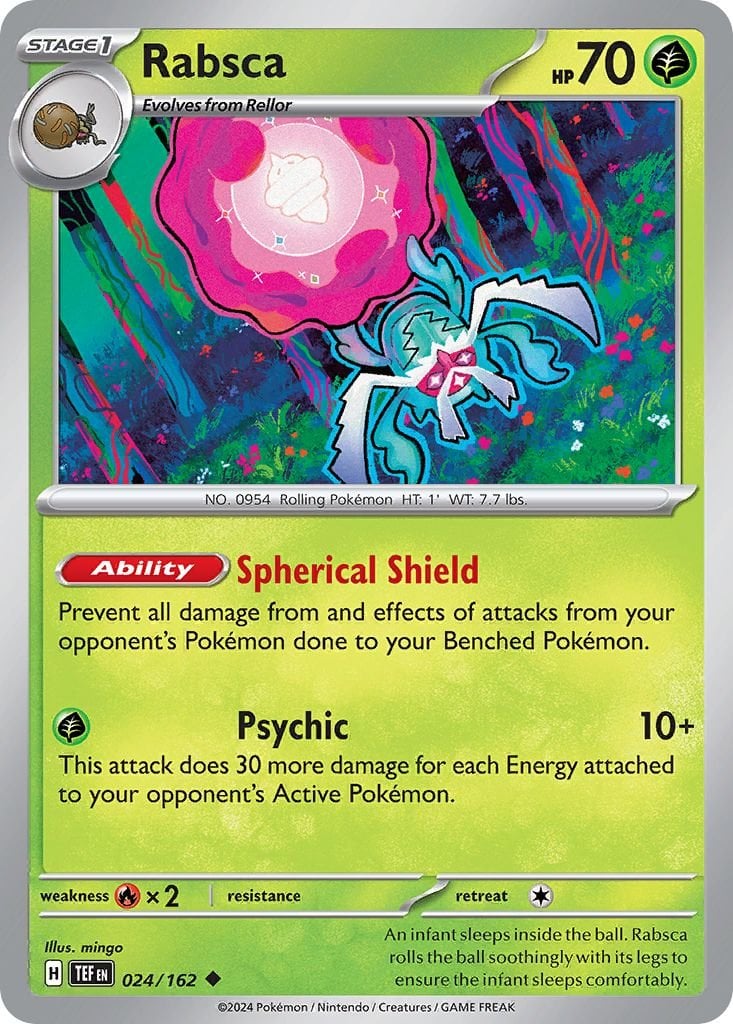 or
or
This SET is an unconvential one and really can be entirely removed if nessecary. However it is here to demonstrate it's function as a back up plan.
Mewtwo
Firstly, Mewtwo. A Basic pokemon that can be placed first turn or directly onto the bench. This is a pokemon you DO NOT WANT to discard unless things are going smooth. The main use of this card is Reflective Barrier. In the scenario you have failed to use Gastrodon to prevent an energy acceleration, then Mewtwo and Alakazam are your next best options. For Mewtwo you for the price of two energies are able to fully reflect the damage done to Mewtwo. For the most effective use of Mewtwo, he should be used against Pokemon that hit hard. Refrain from using him early on if possible. In the event he is used correctly, and you opponent one shots you for (200+ dmg), that + 20 dmg is directly done back to them. Paired with a Bravery charm, this can be quite the devastating blow to your opponent.
Alakazam
The real function of this SET is to set off the bomb Mewtwo set by igniting it with Alakazam. In the scenario Mewtwo's "Reflective Barrier" DIDN'T knock out your opponents active Pokemon, you use Alakazam to finish the job. with "Strange Hacking"
In summary the TIME BOMB is; Use Mewtwo to Reflective incoming damage and then Alakazam to disperse it to either take down a heavy hitter to level the playing field, or spreading it out for a later knockout.
SET 3: Mimikyu/Rabsca/Revavroom - The Shotgun

Bench Support
post Rabsca (PSYCHIC) knockout
or or 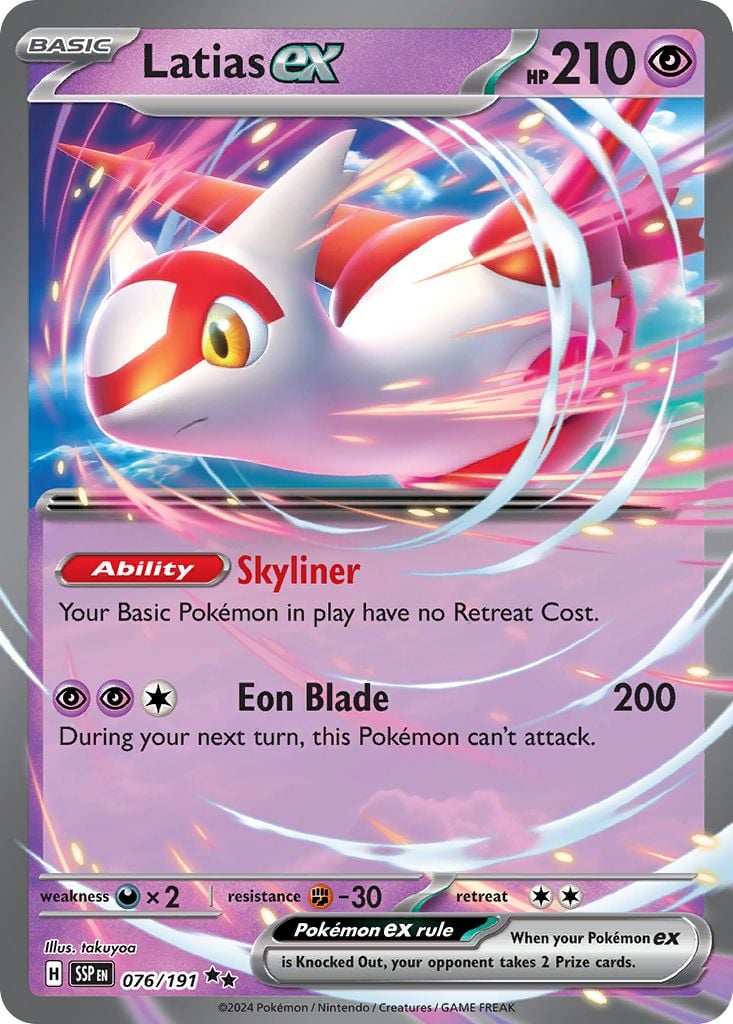
This set is a risky one to pull of (as is most of this stupid deck) but if excecuted well, can very well blast through your opponents.
Rabsca
The focus here is to place a Revavroom on the bench early on and AFTER a boss' order has been played by your opponent. (If a Boss' Orders has NOT been played, swap Gastrodon for perhaps Rhyperior)
Mimikyu
Like in many sets, your goals would be to stall EX attackers while you attack Metal Energies to Revavroom
Revavroom
Once ready and on the board, using Latias ability swaping Mimikyu for Revavroom leads into the attack portion of this SET.
Using "Accelerator Flush" if not enough energies where placed yet is probably the most common, but with a full set of 3 energies, always use Shattering speed of you have a fully energized ready Latias, or Alakazam. (After discarding Revavroom and the energies put Mimikyu onto the Active spot.)
On the Bench
If - Revavroom didn't knock out the active Pokemon
Play Alakazam
Swapping out with Mimikyu and using "Strange Hacking" or "Psychic" will surely do the trick
If - Revavroom did knock out the active Pokemon #1
Play Latias
Attack and then swap with Mimikyu or Alakazam.
If - Revavroom did/didn't knock out the active Pokemon
Leave Mimikyu in place and set begin setting up your next SET
Reloading the Shotgun SET
With both Revavroom and Rabsca in your discard pile, you'll want to use Night Stretcher/Super Rod wisely. Don't grab Revavroom, instead grab metal energies and Rabsca/Rellos. Put them into the Deck/Into hand and get them ready to bring back Revavroom for another go. The only prize card you want to give away are from Rabsca's who allowed you to start a SET.
There are a few cards to mention in detail here
The new Manaphy (but better)
Placing this Rabsca unto the Bench by either the Psychic Rabsca or evolution is up to you, however only when pairing it with Gastrodon will save you from Dusknoir bench wipes. Dusclops could very well still do the trick however I am quite sure Rabsca + Dusknoir will become a useful strategy.
Alakazam (Tanky Pea shooter?)
Alakazam might seem weak if brought onto the active position but never forget his attack, "Mind Jack". Same amount of energy, colorless and can/will do more than Dimensional Hand more often than not. Really knowing when to even bring him onto the Active spot could make for very risky but very creative plays. (IE: Max output could do 240 for only 2 energies and no draw backs) Essentially the trick is to use him as a sniper, and when push comes to shove swap with a Latias and bring the Heat. (Another good punish for your opponent setting up.)
Abra's Shy Demeanor
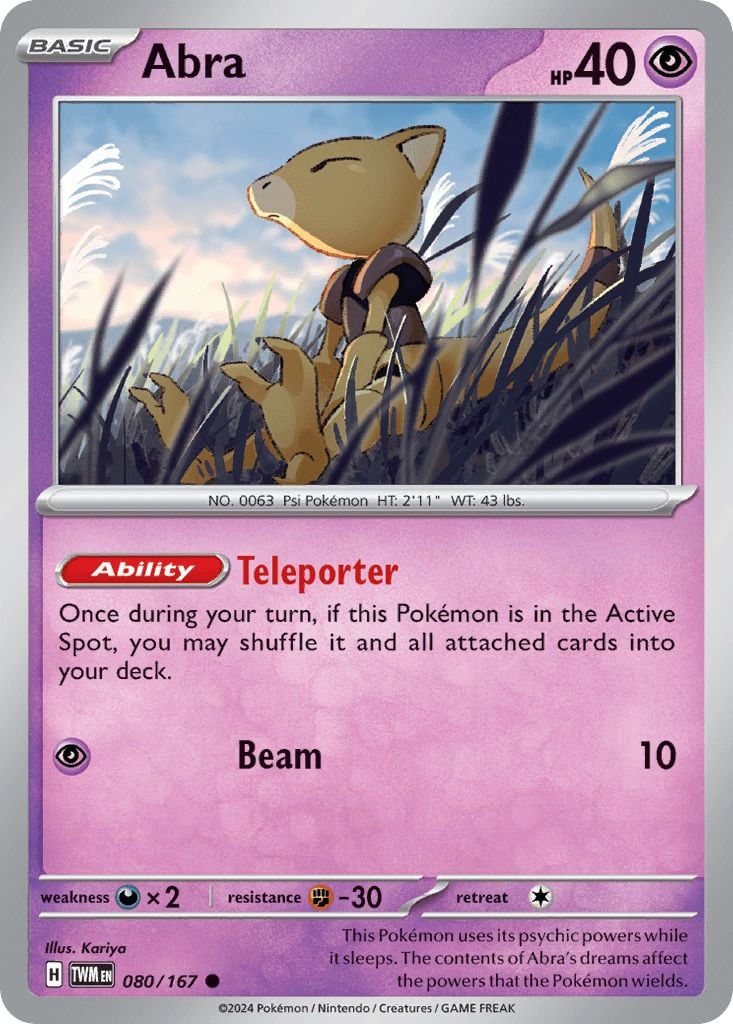
A weak attacker for sure, but the ability is what really shines here. When setting up your SET, if you need to make room on the bench and have a Latias on the bench, swaping active for Abra will allow for a possible Rabsca into Alakazam onto the bench. You essentially always has a a possible "rare candy" evolution but also the option to opt out of having a crowded bench. As for attacking, it's mostly useless, however every Abra evo line Pokemon (except for EX) only requires 1 psycic energy, so don't feel you can't place an energy and attack first few turns. You can put Abra and the energy on him into the deck at anypoint during your turn.
Revavroom's Swift Exit
Revavroom's function in this deck is both unexpected, unrelieable and devastating if pulled off. Hence why it is the only Metal type Pokemon in the deck and there is only 2. Yet a whole 5 Metal energies are spent to keep this engine running! Feel free to completly remove it but I wanted something unprediectble to shake up the constant SET up and telegraphing bench and card managment. The core reason of it's inclusion is its break neck speed of entry and exit. By setting it up early with a Rabsca (Grass) and Rhyperior on the bench it is safe from Boss's orders or attacks that swap pokemon and Revavroom can be left to collect energy. Once it's placed onto the Active position just let it rip and toss it away afterwards, a free 250 damage with no risk of loosing 2 prize cards over it.
Healing Psychics
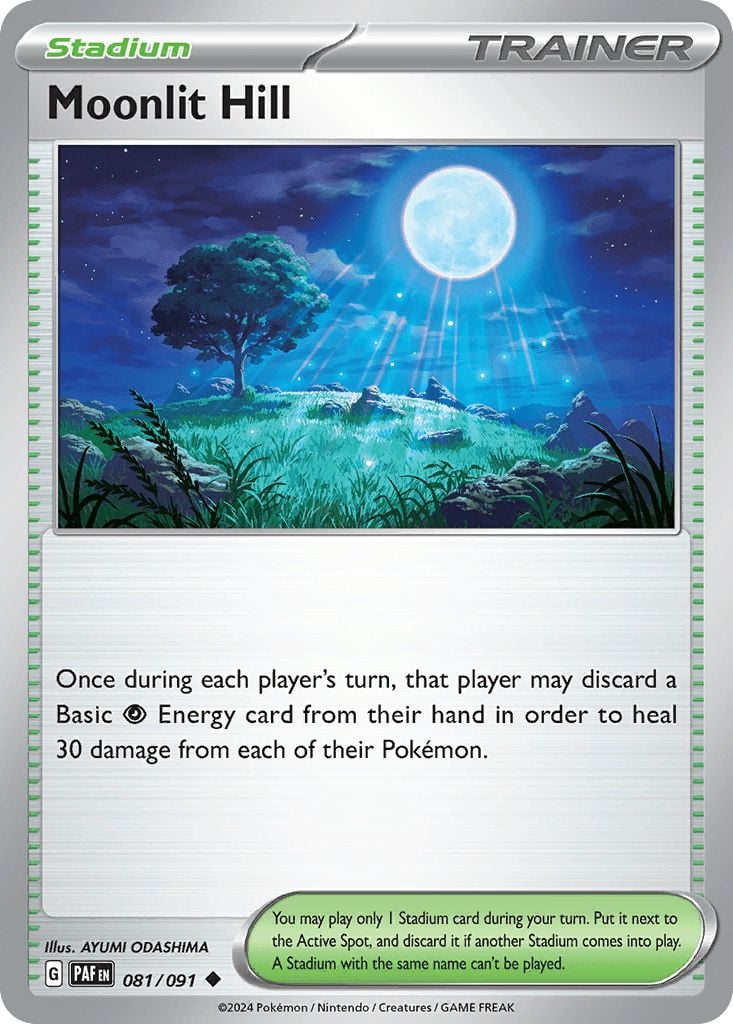
This stadium is the best way to heal for this deck. No poitions no PKMN center ladies as they take up too much space and with Banette it's too risky. Always make use of it because of that. Discarding psychic energies might seem like a dangerous route, but you can always remove some cards and add in some more energy or make the most optimal use of SuperRods/Energy Retrevials.
Super Recharged

In the inevitable event that Revavroom is in the active spot, or attacked by some other means it is important to NEVER LET HIM BE KNOCKED OUT. Bringing him onto the bench is something that must only happen during the proper Set rotation and not a moment after. Clemont's quick wit allows for some room to breathe though. Using this heal can allow you to even use both Revavrooms at the same time, or even attack with the same Revavroom twice (once with primary atk and once with secondary). A potential of 390 dmg in two turns exists somewhere with this card.
Don't count out Latias!
Unlike other Pokemon with abilities in this deck, Latias is actually a very viable attacker. Being that Latias has 210 health that can get boosted by bravery charm (260 hp) or even Hero's Cape (310 hp) it shouldn't be written off so quick. It's main use is indeed the ability of no Retreat Cost, to save on the cheap Psychic energy resource, however it's attack of 200 damage can leave a devastating blow on the enemy, and be swapped out for free with Mimikyu, Rabsca for a quick revive, or even tied into an Alakazam Time Bomb! A very controllable wild card that could take the roll momentarily of a lack of Revavroom damage. Tying Latias into any and all SET's is a large cog in a massive machine that can keep it running for just a little longer. One ideal SET with Latias would be the EX Sniper Set. Using 1 or two Bench Snipes with Alakazam EX is great, but with Latias you can actually put the TIMEBOMB on hold! If your opponents are setting up their bench faster than you can prepare, after the 1st Bench attack (120), using "Skyliner" freely swap out Mimikyu for Alakazam EX. Then use Alakazam EX's Primary attack for a Devastating 250+ Damage! Then retreat and follow up with a Latias EX 200 dmg! A total of 570 dmg in 3 turns! And only 5 energy required!
Little fella
That thing is here too!!!
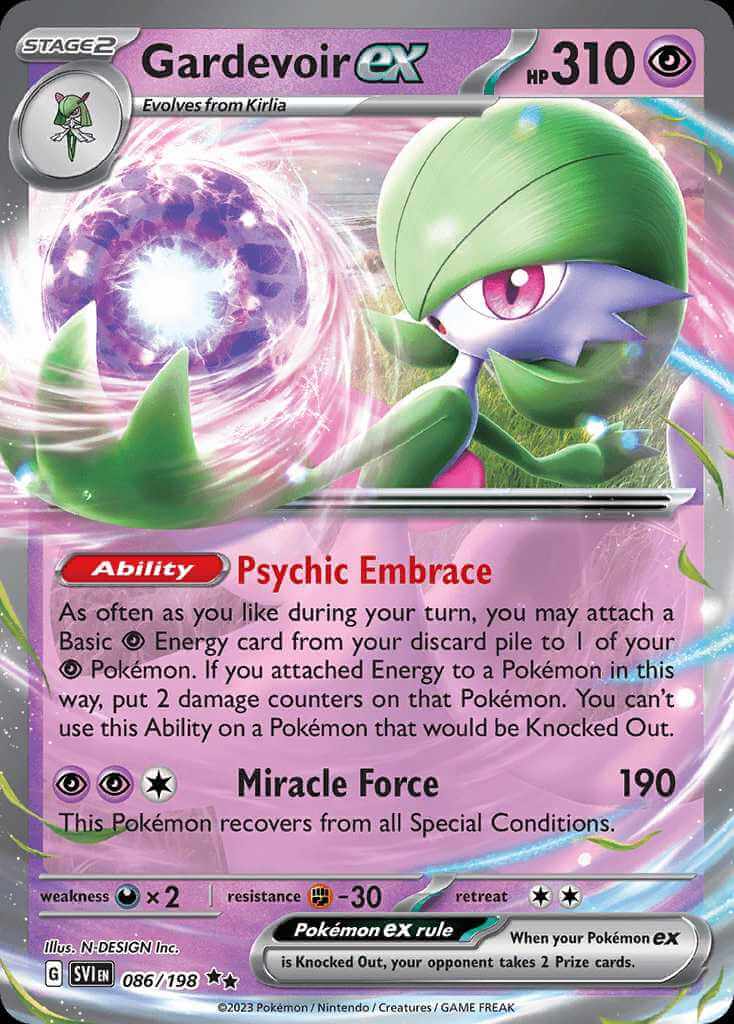
Yes indeed a single Gardevoir EX has made it into the deck. Using Rabsca really it had to be here. I know using Rabsca could technically just allow VMAX cards to just come flying out, but My focus here was synergetic mench movement, and ability lockdown. So yes, Gastrodon cannot be played at the same time as Gardevoir here. Getting the set up timing right would most likely lead to gardevoir becoming active around midgame, causing another Rabsca prize card loss. Unfortunatly though I don't see viable reason to give this card any more attention with Kirilias and rare candies and what have you. The deck is built to take down this card so having it is redundant but given the chance to be able to put it into play first is something I can't pass up on. The few wasys to implement this card is an early risky play, a shaky prize loss mid play, or a strong late play are the only options.

Smoochums is here for both moral support and energy support early game. Using Smoochum to set up Alakazam and others early will help when setting up Revavroom with Metal energies manually later. And then Gardevoir if need be can pick up Smoochums Slack.
Notes: This was a lot of typing but I think It's done.
 BugCatcherRevolverOcelot