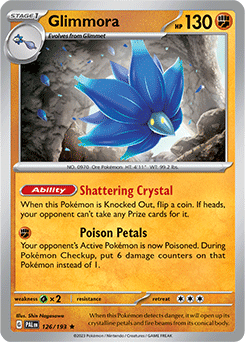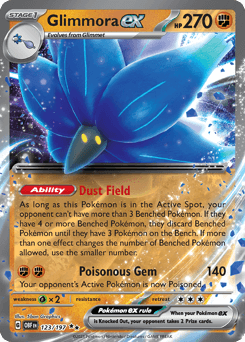
Glimmora

Andreas Dahl Andreas Dahl Expanded 14,702 views Dec 01, 2023
Purchase
Deck Primer

This is my take on a non-troll Glimmora deck. By that I mean this deck is meant to let you play the game, and have a fightning chance against most matchups. I've played 50+ ranked games with this, making small adjustments along the way. I feel like the balance is just right here, having roughly 70% win rate and a 10-game win streak (below 1k rating). The deck requires a fair bit of resource management, as many cards have only one copy, but once you get the hang of it it is a blast to play!

The general

...

This is my take on a non-troll Glimmora deck. By that I mean this deck is meant to let you play the game, and have a fightning chance against most matchups. I've played 50+ ranked games with this, making small adjustments along the way. I feel like the balance is just right here, having roughly 70% win rate and a 10-game win streak (below 1k rating). The deck requires a fair bit of resource management, as many cards have only one copy, but once you get the hang of it it is a blast to play!

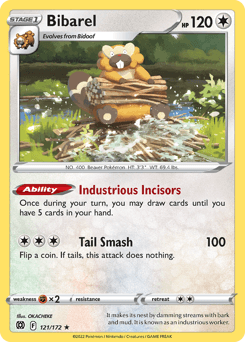
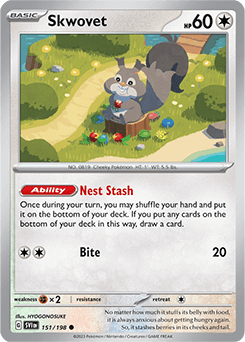
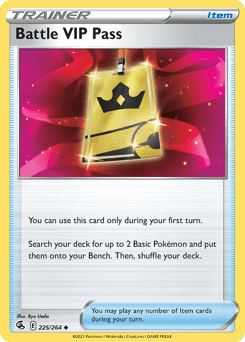
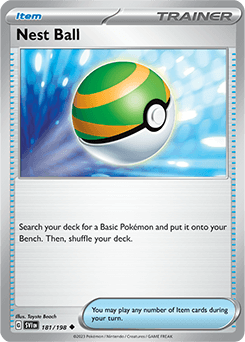
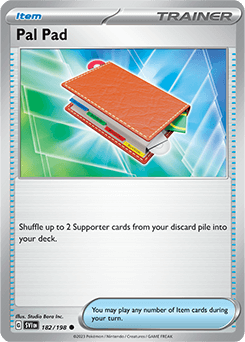
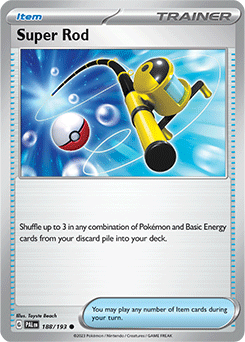
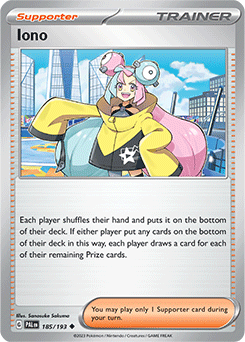
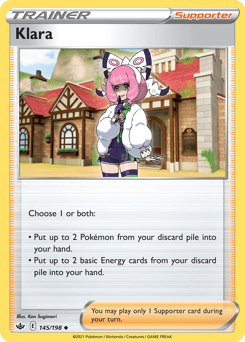
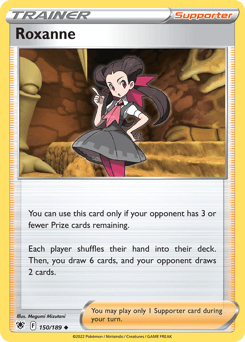
The general idea is to give the deck some consistency with the VIP passes, a lot of balls, Bibarel engine and having fairly few supporter cards, allowing you to thin the deck pretty fast. Nest stashing the cards you need for later, and preferrably having 2 Bibarels to draw and thin. This will allow you to pretty much find any card you need approaching turns 4-5+. Using only single prizers and recycling with Super Rod, Klara and Pal Pad you'll get to a late game where you can control the outcome. Roxanne, Iono for late disruption.

Pokemon

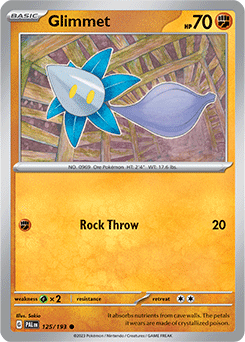
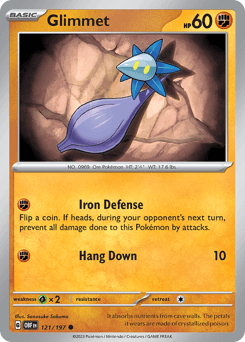
There are many glimmets to chose from. I find the 70 HP ones the most useful, regardless of the 2 energy retreat cost. You'll very rarely want to retreat your glimmet, and it gives protection against Sableye, Iron Valiant, Intelion and other yoga loop threats. The 40 HP glimmet is pretty much useless. It is yoga loop food (just a single alakazam tap and loop) and its attack to evolve just means you're throwing away a glimmora to maybe deny a price card. The 60 HP iron defense glimmet is there for that clutch coin flip, it can save you the game sometimes, particulary in the late stages if you have no other choice (like a memory skip ralts). 

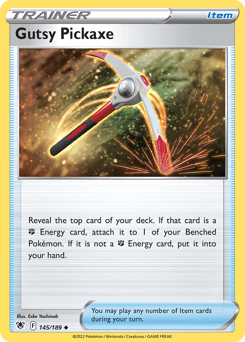
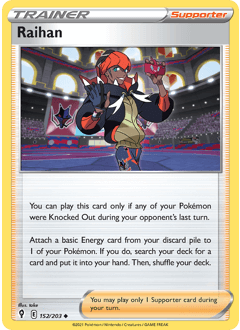
I played without Glimmora ex for a long while, but including it seems to solve a few matchups. In particular against high HP VMAX and ex pokemon, you can set them up with glimmora and finish with the ex when glimmora gets knocked. With Sneasler in play you'll to 330 damage in two turns. Pickaxe and Raihan in particular will help getting the ex into play. 

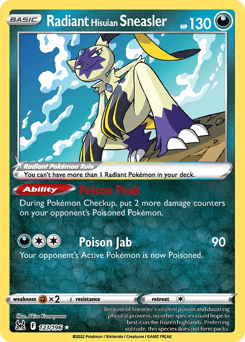
The Sneasler is a great addition, but not always so nescessary. Check if there are any important numbers to reach, it might actually be irrelevant in the matchup. 

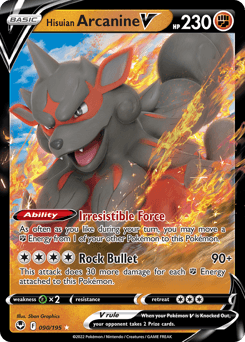
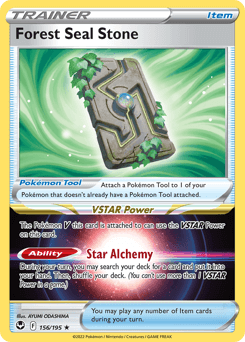
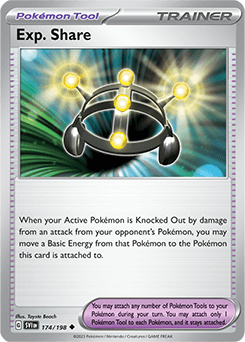
Arcanine V is there to hold the forest seal stone, as well as being a late game sweeper. This deck often attaches 1 energy and loses that energy each turn, so building energy for Arcanine can be difficult. Pickaxe helps, as well as the Exp. Share tool. I prefer attaching the Exp. Share to a pokemon that is unlikely to get bossed, just to collect energy for Arcanine. 

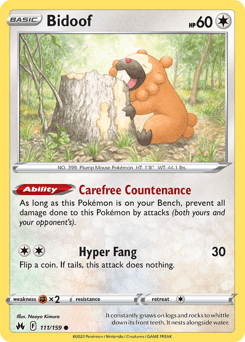
Your ideal bench has 1 glimmet, 2 bibarel and a skwovet. Manaphy if needed, sneasler if needed. 


Trainers

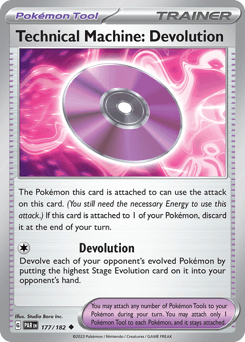
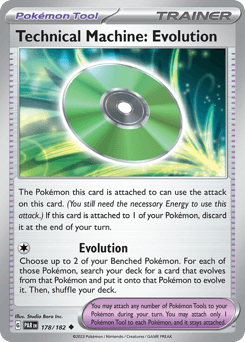
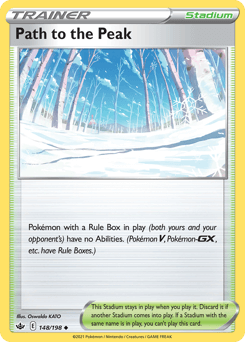
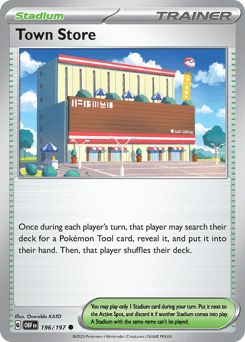
Most Glimmora decks play Calamitous Wasteland, so did I for a while. I found that it doesn't really work. You can replace it, vacuum it, switch/cart/escape rope anyways. Or just evolve and clear the poison. The extra retreat cost only really hurts for pokemon that has bad energy acceleration, and those wil usually chose to stay and attack anyways. Besides, it can get your sneasler, bibarel or skwovet trapped, and excludes the option of playing up one of those to retreat into a Arcanine V to finish the game. Path to the Peak gives you a MUCH better matchup spread. Town store is also in there to get an extra entry to your tools. The tools in this deck are really game deciding; particulary the devolve TM. It gives you a good chance against Chien-Pao, Charizard-Pidgeot and Gardevoir. You can also use it to knock out evolution pokemon that retreats to the bench. The TM cards are also in general very good with glimmora since you often do turns without attacking anyways. 

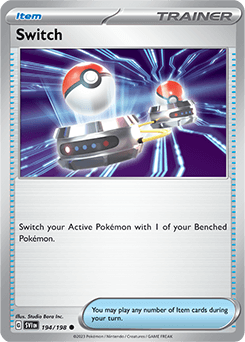
The deck plays a single switch, use it wisely. Generally I use it to switch out a pokemon stuck in active from turn 1, to help a trapped arcanine or bibarel, or to switch in Arcanine late game if I cant afford to discard an energy card for retreat. 

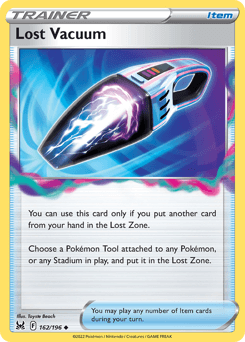
Vacuum is there mainly for the Roarding Moon matchup, where they usually play two Ancient Booster Energy Capsules. Vacuum one, and the other you'll have to power through with glimmora ex or arcanine. Once you're through the matchup is fairly easy to bring home. 

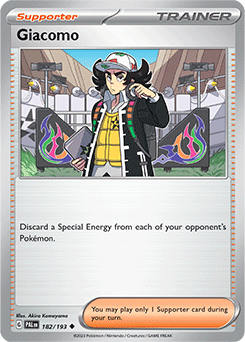
Giacomo is included to not auto-loss against Lugia with its therapeutic energy snorlaxes. In addition to that, many decks heavily rely on double turbo energy - like grabber Mew and unhinged Klawf. Giacomo (in particular with pal pad) will just win you the game. 


Energy

8 is a low as you can go IMO, and still only very rarely passing turns because of lacking energy. You also dont want to be filling your hand with energy cards that blocks bibarel draw. 8 feels like the perfect balance. You can always bring them back with rod and Klara, just remember to keep one in discard for Raihan. 

Card Types

Trainer 36
Pokémon 16
Energy 8

Energy Types

Fighting 9
Colorless 5
Darkness 1
Water 1

Energy Curve

Distribution of attack energy costs in your deck

1 Energy 9 attacks
9
52.9% of attacks
2 Energy 4 attacks
4
23.5% of attacks
3 Energy 3 attacks
3
17.6% of attacks
4 Energy 1 attack
5.9% of attacks

Opening Hand Probability Calculator

Calculate the probability of drawing specific cards in your opening hand

%
Probability of drawing at least of in your opening hand

Comments

No comments yet…

You must be logged in to comment.