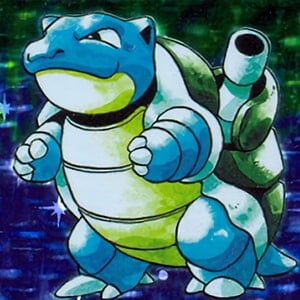
 Undermine
Standard Format: Illegal
This deck is not legal in Standard format:
- Copperajah ex (Regulation Mark: G) is not legal in Standard format. Legal marks: H, I, J.
- Cufant (Regulation Mark: G) is not legal in Standard format. Legal marks: H, I, J.
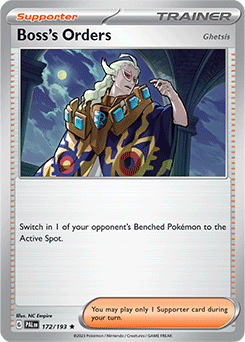
- Boss’s Orders (Ghetsis) (Regulation Mark: G) is not legal in Standard format. Legal marks: H, I, J.
- Earthen Vessel (Regulation Mark: G) is not legal in Standard format. Legal marks: H, I, J.
- Iono (Regulation Mark: G) is not legal in Standard format. Legal marks: H, I, J.
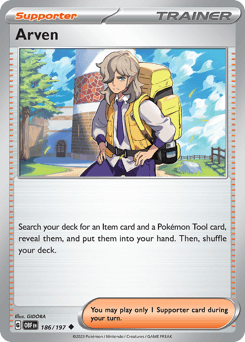
- Arven (Regulation Mark: G) is not legal in Standard format. Legal marks: H, I, J.
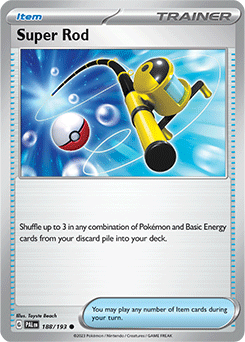
- Super Rod (Regulation Mark: G) is not legal in Standard format. Legal marks: H, I, J.
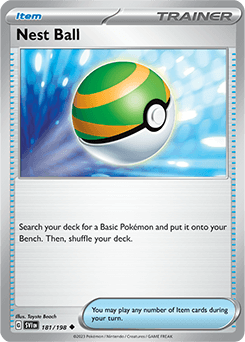
- Nest Ball (Regulation Mark: G) is not legal in Standard format. Legal marks: H, I, J.
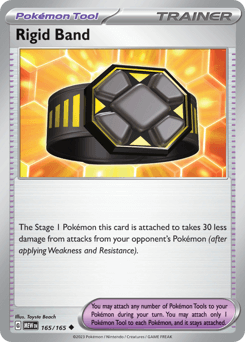
- Rigid Band (Regulation Mark: G) is not legal in Standard format. Legal marks: H, I, J.
- Professor Turo's Scenario (Regulation Mark: G) is not legal in Standard format. Legal marks: H, I, J.
Removed Buddy-Buddy Poffin x1, Added Professor Turo's Scenario x1
Changed:
- Buddy-Buddy Poffin (sv5-144) : -1 (3 → 2)
- Professor Turo's Scenario (sv4-171) : -1 +1 (1 → 2)
Removed Rabsca x1, Removed Rellor x2, Added Boss’s Orders (Ghetsis) x1, Removed Basic Metal Energy x4, Added Munkidori x2, Added Basic Darkness Energy x4
Added:
- Munkidori (sv6-95) x2
- Basic Darkness Energy (sve-7) x4
Removed:
- Rabsca (sv5-24) x1
- Rellor (sv5-23) x2
Changed:
- Boss’s Orders (Ghetsis) (sv2-172) : -1 +1 (2 → 3)
- Basic Metal Energy (sve-8) : -4 (15 → 11)
Removed Professor's Research (Professor Sada) x1, Added Professor Turo's Scenario x1
Added:
- Professor Turo's Scenario (sv4-171) x1
Removed:
- Professor's Research (Professor Sada) (sv1-189) x1
Removed Professor's Research (Professor Sada) x1, Added Nest Ball x1
Changed:
- Professor's Research (Professor Sada) (sv1-189) : -1 (2 → 1)
- Nest Ball (sv1-181) : -1 +1 (3 → 4)
Removed Buddy-Buddy Poffin x1, Removed Earthen Vessel x1, Added Nest Ball x2
Changed:
- Buddy-Buddy Poffin (sv5-144) : -1 (4 → 3)
- Earthen Vessel (sv4-163) : -1 (2 → 1)
- Nest Ball (sv1-181) : -2 +2 (1 → 3)
Main Deck (60 cards)
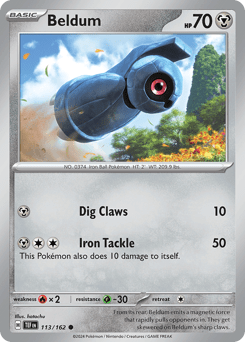 x3
$0.19
x3
$0.19
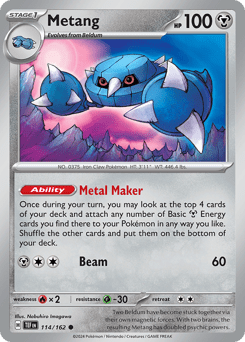 x3
$4.45
x3
$4.45
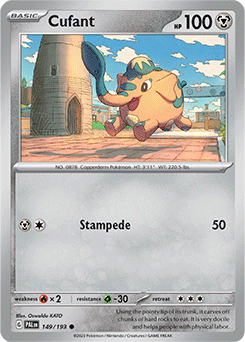 x3
$0.05
x3
$0.05
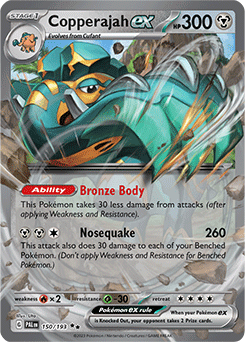 x3
$0.78
x3
$0.78
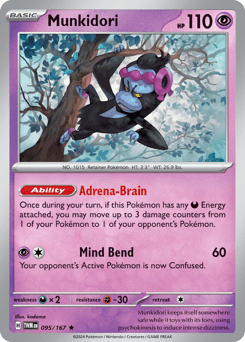 x2
$0.28
x2
$0.28
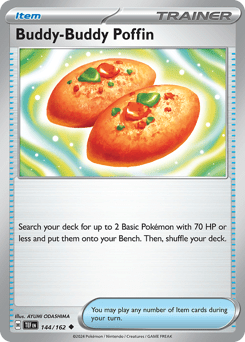 x2
$0.28
x2
$0.28
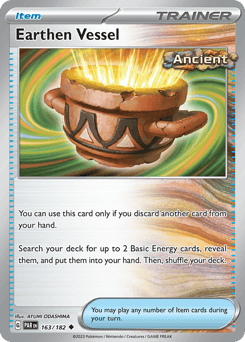 $0.22
$0.22
 x2
$0.09
x2
$0.09
 x4
$0.22
x4
$0.22
 x2
$0.30
x2
$0.30
 x4
$0.19
x4
$0.19
 $27.50
 x2
$0.21
x2
$0.21
 x2
$0.22
x2
$0.22
 x3
$0.34
x3
$0.34
 x3
$0.39
x3
$0.39
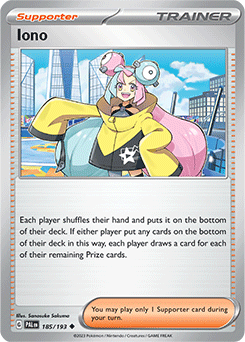 x3
$0.25
x3
$0.25
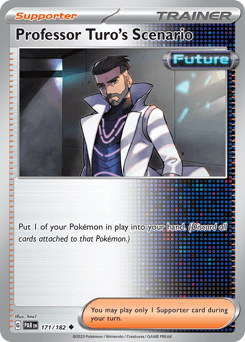 x2
$0.23
x2
$0.23
 x4
$0.11
x4
$0.11
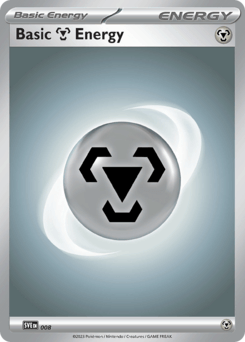 x11
$0.14
x11
$0.14


Card Types
Energy Types
Energy Curve
Distribution of attack energy costs in your deck
Opening Hand Probability Calculator
Calculate the probability of drawing specific cards in your opening hand
Other standard Decks


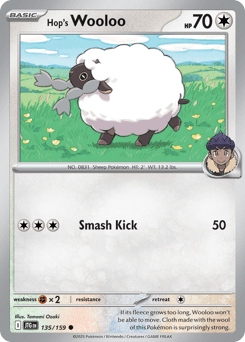



Comments
Test Hand
Opening Hand (7 cards)
Click "Redraw" to test a hand
Prize Cards (6 cards)
Click "Redraw" to test a hand
Shuffled using Fisher-Yates algorithm
No comments yet…
You must be logged in to comment.